There are many methods to convert kitchen waste to compost. Rather than throwing everything into trash and added to landfill, recycling kitchen waste benefits both the environment and the soil you garden in. The current method I am using to deal with kitchen waste is bokashi composting. Compared to traditional composting, meat, fish, and dairy can also be added, but it can cause additional odors.
What is bokashi composting?
Bokashi composting is an anaerobic fermentation method which beak down food scraps quickly. It utilizes beneficial microorganisms such as lactic acid bacteria and yeasts. If you ferment food, it is similar to that except you are doing it with your kitchen scraps. The end result is nutrient-rich soil to add to your garden.
What you need for bokashi composting
Below is what I am using to make bokashi compost.
- 5 gallon bucket
- Gamma seal lid
- Bokashi bran or EM1
- Food scraps
You can buy a starter kit except food scraps from Amazon or other companies such as SD Microbes. If this is the first time trying bokashi composting, it may be more convenient to buy a starter kit rather than buying them individually. On Amazon, search with a term such as “bokashi composting starter kit”. It will give you a lot of choices. I personally went with the starter kit from SD Microbes and I have been using their bokashi bran called BierKashi for more than two years. It has been working very well for me, and one 5-lb BierKashi bag lasts a year as I am the only vegetable eater in my household. Some make their own bokashi bran from EM1, but it is a bit time consuming. Some also wonder if the bucket should have a spigot to release bokashi liquid. Some use the liquid as fertilizer by diluting with water. I personally don’t have any issues with liquid sitting at the bottom of a bucket. Once it is done, I dump everything into soil including liquid.
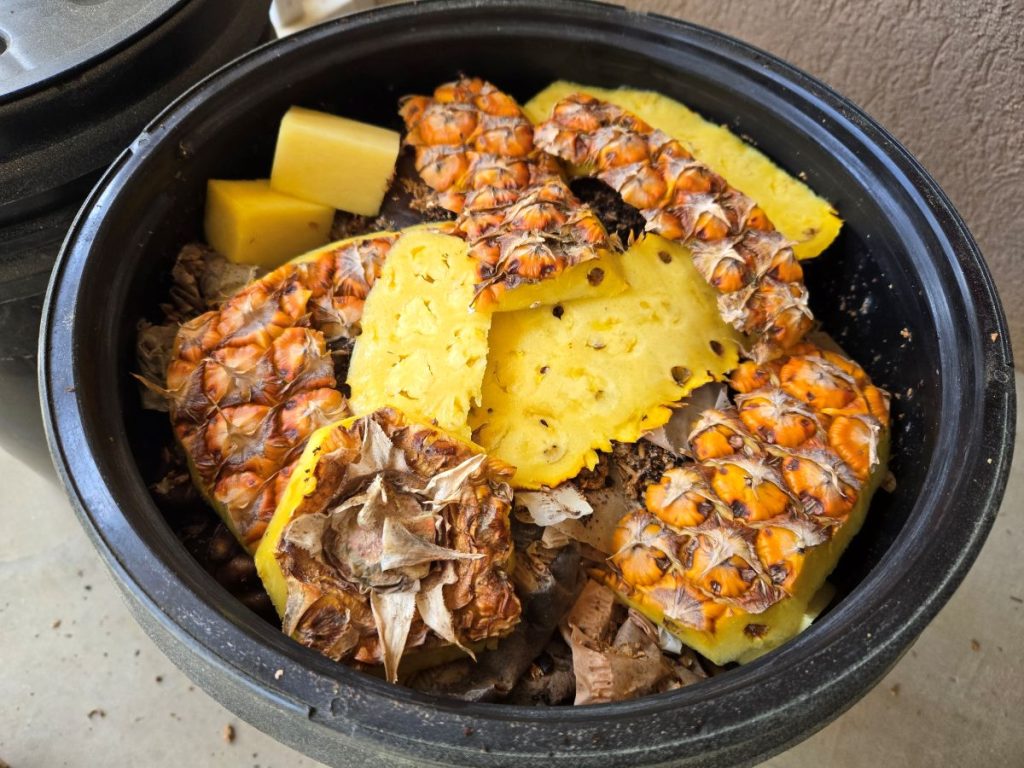
Fermenting food scraps
It is very easy to do. Add a couple handful of bokashi bran to a bucket first. Then, add 2 inches or so of food scraps, and spread a handful of bokashi bran on top. Put the lid on tight, and it is done. I have a small container that holds a small amount of food scraps, and it is kept in a fridge. Once it is full, I dump it in the bokashi bucket. Once the 5-gallon bucket is full of food scraps, I leave it for minimum of 2 weeks to ferment. There were times I forgot about it and left it over a month. It was still fine. Bokashi composting is very forgiving. They won’t go bad, similar to fermented food. They may get a bit sourer, and that’s all.

Mixing bokashi with soil
Once the food scraps have fermented for 2 weeks, it is time to dump it in the soil. Some add it directly into the garden, and some add it to a bokashi soil factory. A bokashi soil factory is a container that turns your bokashi to compost. I use a 24-gallon trash bin from Lowe’s, but it can be anything as long as it can contain both soil and bokashi. Add some soil and bokashi, mix well, and cover with soil again on top to reduce the smell. I usually don’t have to add water as my bokashi contains enough liquid. But if it seems dry, you may want to add some water. I used to put food scraps directly to my raised bed, but that turned into a nightmare. Racoons started digging up my garden, and I could never get rid of them. It was a constant battle, and I ended up setting up an electric fence for racoons. Since then, any food waste stays away from my garden area.

After a couple weeks, majority of food scraps should be turned into soil. At that point, you can use it for your garden. I usually add it on top of existing soil in my raised bed, spread it, and plant!
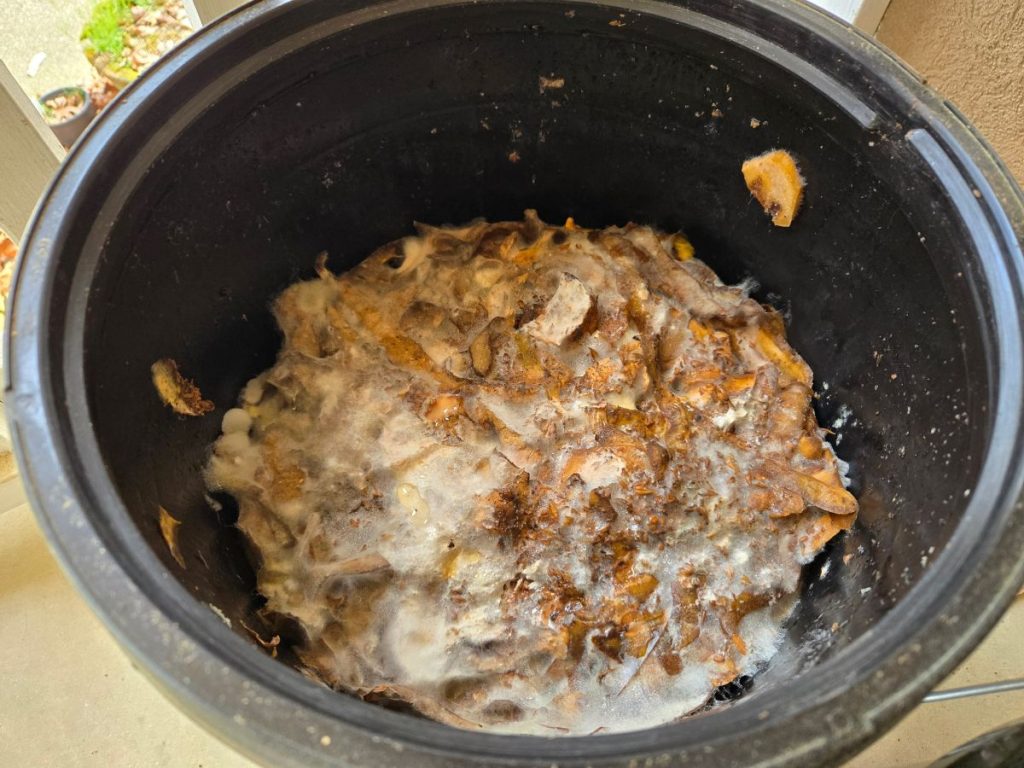
During the process of adding food scraps, you may find some mold or larvae in your bucket. In summary, those are usually not red flags. Below is what I experienced so far.
I see mold in the bucket!
It is okay to see mold as long as it is white. If it is truly anaerobic, white mold may not develop. But I usually see mine being covered by it on top when it is done fermenting. If you see green or black mold, you may want to dump it outside and start over.
I see maggots and larvae in the bucket!!
It sometimes happens during the summer when the lid is not closed completely. It is gross, but it doesn’t seem to affect the fermentation process. They don’t die in that environment, either. So, you can either start all over by dumping what’s in the bucket or keep on adding food scraps. Even though I do get grossed out by them, I keep on adding scraps until it reaches to the top. Once it is mixed in with the soil, they will be gone when soil is ready to be used.
Where to place a bokashi bucket?
It shouldn’t be placed in the sun. I have a north facing porch, so that’s where I have them. Some people keep the bucket inside the house, but some may dislike the smell of fermentation (in my case, my husband). A shady area which is easily accessible from your kitchen would be ideal.
How many bokashi buckets do I need?
I started with just one, but I added one more. The benefit of having two buckets is to allow you to keep adding food scraps while one is fermenting. If you have a bigger household with lots of veggie eaters, you may need more. But try with one first and experiment how it goes for you and add if needed.
My thoughts on bokashi composting
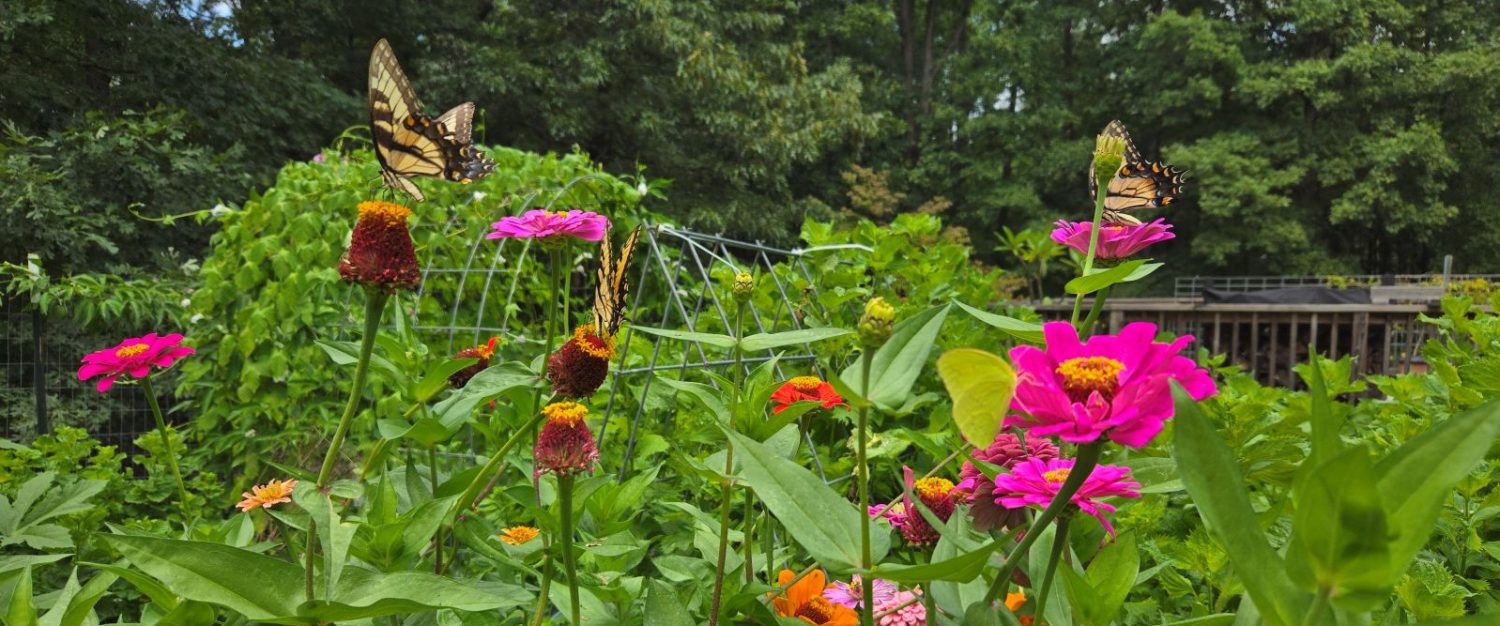
Among all things I have tried, bokashi composting is fool proof and it simply works for me. It does not require a lot of attention or time, which is a plus. It helps reduce the landfill, and your garden soil becomes more enriched. A win-win!!
Happy Gardening!